
Cart 2 india
In2Cart
Rs. 0
0


Product Information
Specification
Brand : STP-350
BulletPoint1 : Made of stainless steel
BulletPoint2 : Circuit board mount kit included; capable of working with double-sided boards
BulletPoint3 : Working area: 18"×13" (457mm×330mm)
BulletPoint4 : Flexible for use on boats, atv's, walls, Trucks, Cars, etc.
BulletPoint5 : 10 Mil Die Cut Vinyl (thickness of 2 1/2 sheets of printer paper)
Color : Hexacam
ExternallyAssignedProductIdentifier1 : 0616245681500
ExternallyAssignedProductIdentifier2 : 616245681500
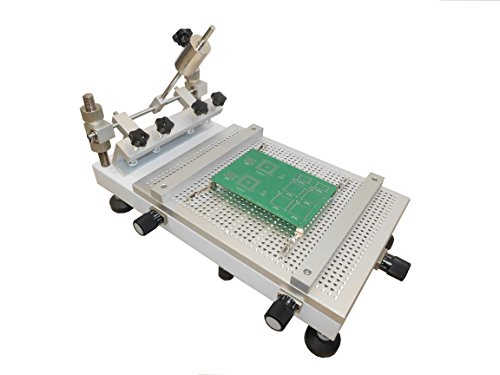
ItemName : STP-350 High Precision Stencil Printer
ItemPackageDimensions_Height : 18 inches
ItemPackageDimensions_Length : 22 inches
ItemPackageDimensions_Width : 15 inches
ItemPackageQuantity : 1
ItemTypeKeyword : airbrush-stencils-and-templates
Manufacturer : SMTmax
Material : Stainless Steel
ModelName : STP 350
ModelNumber : STP-350
PartNumber : STP-350
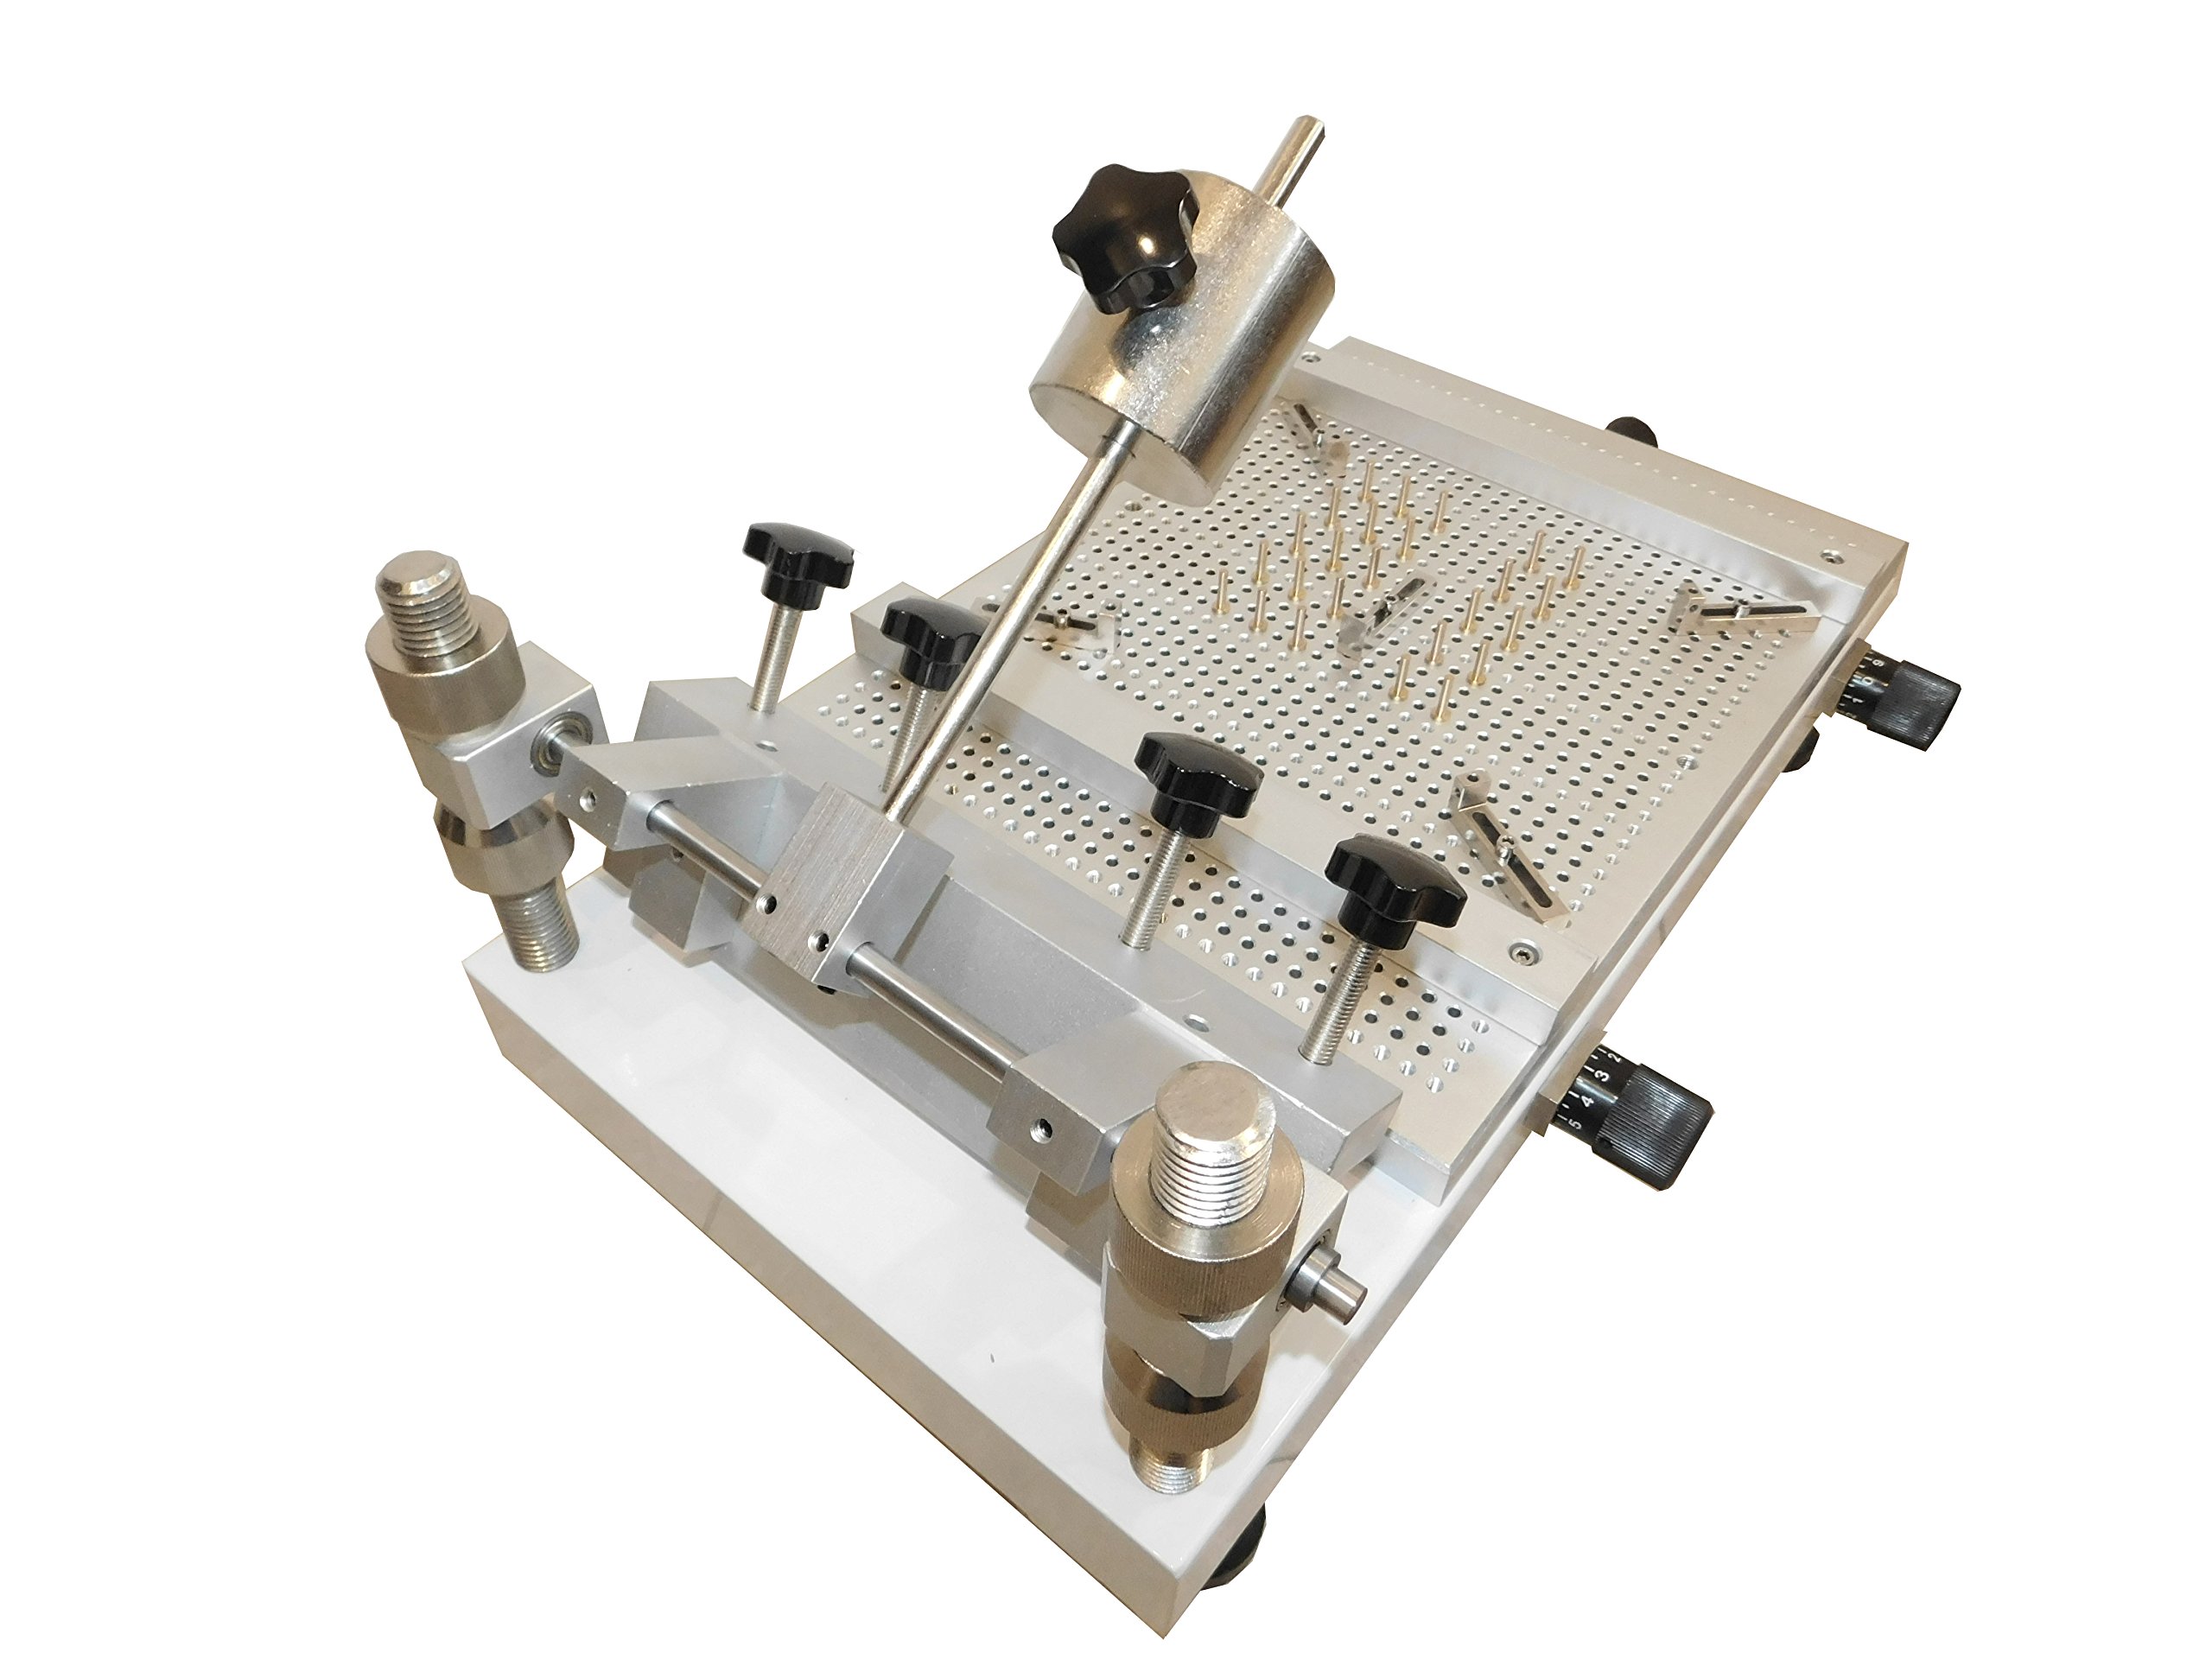
ProductDescription : ● Working area: 18"x13", frame thickness should be less than 1.5". ● Max. X direction adjustment: 5/8". ● Max. Y direction adjustment: 5/8". ● Max. Z direction adjustment: 5/8". ● θ adjustment 10°. ● Open end, fit any framed stencils as long as the paste area is smaller than the base. ● Circuit board mount kit included, capable of two side boards. ● Use framed stencils. Stencil and frame not included. They are customer items. ● Weight: STP350, 60 lb *Squeegee not included, sold separately. Assembling of the Stencil Printer 1. Assembling: Unscrew one nut from each of the two long metal bars. 2. Align the two black metal bars with the two holes on the back of the screen printer base. Let them go through the holes. Put the nuts back onto the two metal bars beneath the base. 3. Adjust the position of the stencil clapping fixture by moving the nuts on the two vertical bars up or down. It is best to check the position with a stencil frame. Operation 1. Mount the stencil by tightening the clamps on the back of the stencil printer. 2. Align the PCB with the stencil by using the four L shaped blocks supplied. 3. Fine adjustment is achieved by turning the knobs around the base. Z direction adjustment knob is at the back. 4. Apply a thin layer of solder paste. Too much paste will cause short circuits.
ProductSiteLaunchDate : 2012-06-04T21:26:21.887Z
SupplierDeclaredDgHzRegulation : not_applicable
UnspscCode : 44000000