
Cart 2 india
In2Cart
Rs. 0
0


Product Information
Specification
Brand : FAWENUCY
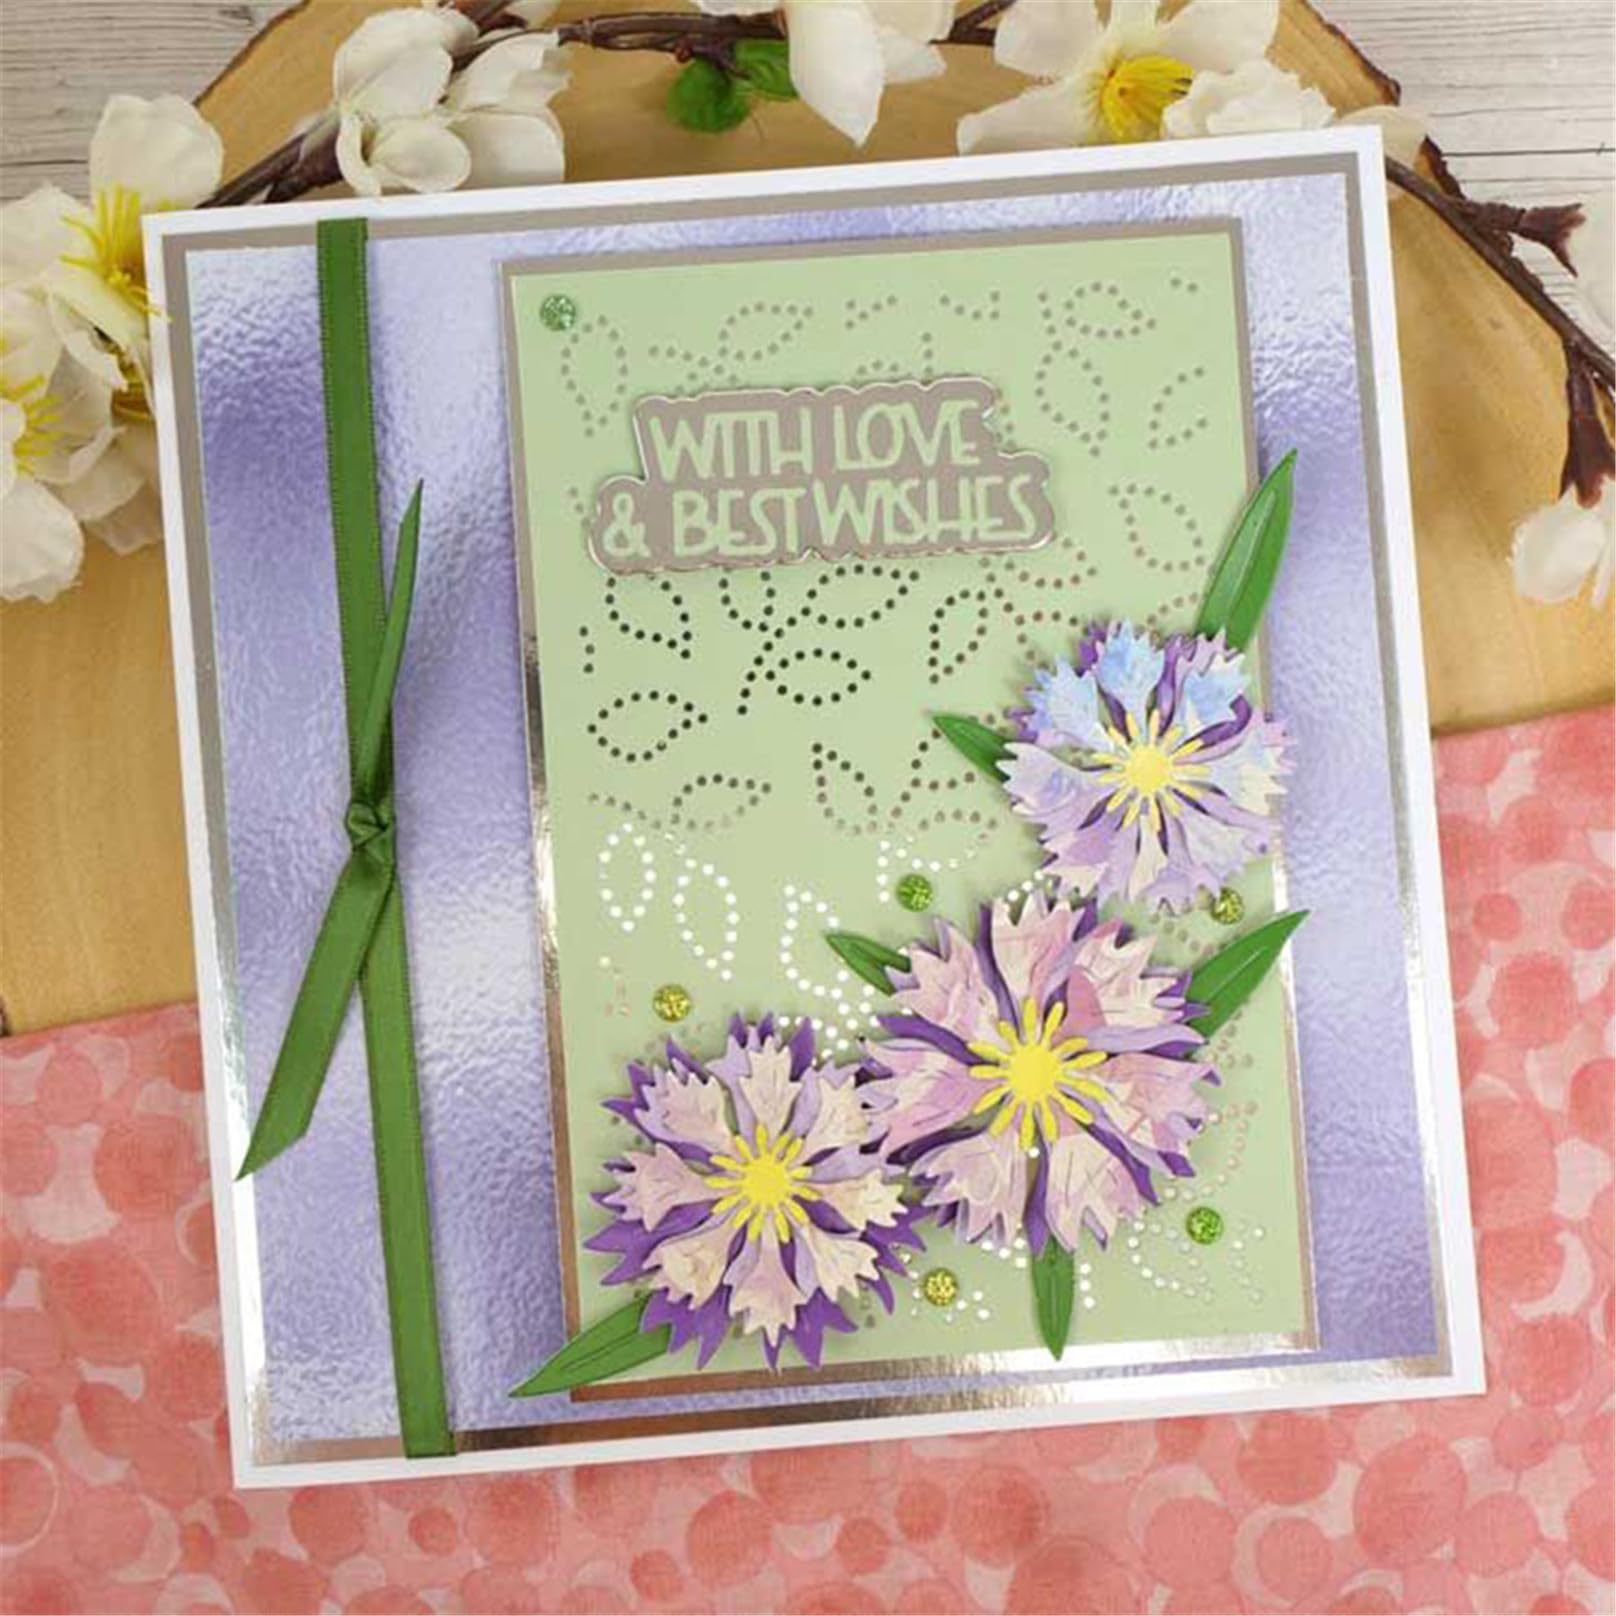
BulletPoint1 : *Multiple Creative Usages-Use the metal dies cut to create delicate and unique 3D pattern papers for greeting or holiday cards, DIY album, photos, manual account, scrapbooking pages, planner, postcards, journal, home daily decoration
BulletPoint2 : *Easy to Cut- Place the dies and paper stacked layers into base of die cutter machine and rotating for several times, then you will get your beautiful cut image when Lover's Day,Teacher's Day, Birthday Day, Christmas Day, Wedding and many other special days
BulletPoint3 : *FAWENUCY Embossing Template-Can cut through a variety of paper, cardstock, thin chipboard, fit for most major brands of die cutting machines
BulletPoint4 : *Scrapbooking Dies Cut Material-High quality thin carbon steel, silver color surface, sturdy, durable and reusable
BulletPoint5 : *FAWENUCY Metal Die Cut-Packed include 1 set various net frame dies, the die measures approximately 14.3x10.9cm
BulletPoint6 : 6. Dimension: 120*121mm(4.7*4.8inch)
BulletPoint7 : 7. Packing List: 1 pack thanksgiving words dies in opp bag
Color : Cornflower-9.8x7cm
ExternallyAssignedProductIdentifier1 : 0659381090614
ExternallyAssignedProductIdentifier2 : 659381090614
GpsrSafetyAttestation : 1
ItemName : FAWENUCY Scrapbooking Die-Cuts for Card Making, Christmas Metal Cutting Dies, Paper Craft Punch Template, Background Embossing Stencils, DIY Album Décor (Cornflower-9.8x7cm)
ItemPackageDimensions_Height : 11.0998 centimeters
ItemPackageDimensions_Length : 2.4892 centimeters
ItemPackageDimensions_Width : 8.7884 centimeters
ItemPackageQuantity : 1
ItemShape : Rectangular
ItemTypeKeyword : scrapbooking-die-cuts
LineSize : 3.50 inches
Manufacturer : FAWENUCY
Material : Carbon Steel
Material1 : Silicone
Material2 : Carbon Steel
Material3 : Polyethylene Terephthalate
MaximumSize : 4.00 inches
ModelName : Metal die cuts
ModelNumber : Edge Border Series
NumberOfBoxes : 1
NumberOfItems : 1
PartNumber : Edge Border Series
ProductDescription : How to Use:
1. Place the white base board on a flat surface, cover with thick transparency base plate.
2. Place the cutting dies on top with the cutting side facing up. Place suitable paper or cardstock on top, cover with thin transparency plate.
3. Keeping the stacked layers neatly arranged, place onto the base of the machine. Push the stack into the machine rotating the handle as the stack moves to the opposite side of the machine.
4. Remove the paper from the plates, then you can get beautiful cut image.
ProductSiteLaunchDate : 2023-01-04T07:43:39.058Z
Size : Small
Style : Art Deco
SupplierDeclaredDgHzRegulation : not_applicable
SupplierDeclaredDgHzRegulation1 : not_applicable
SupplierDeclaredDgHzRegulation2 : not_applicable
SupplierDeclaredDgHzRegulation3 : not_applicable
SupplierDeclaredDgHzRegulation4 : not_applicable
SupplierDeclaredDgHzRegulation5 : not_applicable
SupplierDeclaredHasProductIdentifierExemption : 1
TargetAudienceKeyword : Unisex Adult
TargetAudienceKeyword1 : Seniors
TargetAudienceKeyword2 : Unisex Adult
TargetAudienceKeyword3 : Unisex Children
TargetAudienceKeyword4 : Unisex Teen
TargetAudienceKeyword5 : Arts Crafts Lovers
UnspscCode : 44111800
WarrantyDescription : no